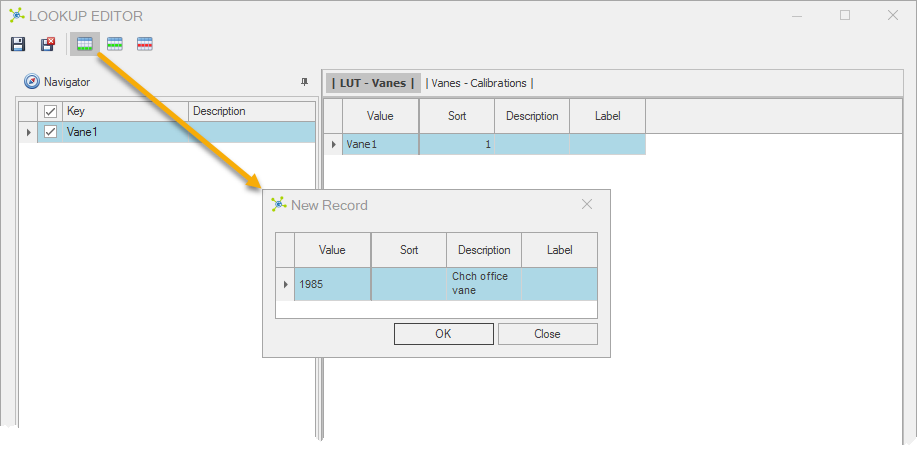
Vane gauge reading can be corrected automatically to actual strength (kPa) values using the Vane Correction System.

 How To: Setup vanes and calibration data
•Start Date - the date the calibration was completed. •End Date - arbitrarily a date 12 months after the Start Date. •Vane Size - the common name of the vane size (i.e. 19 or 33 mm), not the exact size. •m - the slope of the correction line •b - the y-intercept of the correction line (typically assumed to be 0) |
 How To: Use the vane calibration system
|


