YouTube |
|
Resources are files that can be embedded in a report template. The following can be added as resources:
![]() Data files - CSV, Excel, JSON, XML, DBF;
Data files - CSV, Excel, JSON, XML, DBF;
![]() Image files - SVG, JPEG, JPG, PNG, BMP, GIF and other image files.
Image files - SVG, JPEG, JPG, PNG, BMP, GIF and other image files.
![]() Report templates (*.mrt, *.mrz) and built reports (*.mdc, *.mdz).
Report templates (*.mrt, *.mrz) and built reports (*.mdc, *.mdz).
![]() RTF files.
RTF files.
You should do the following to embed a file into a report:
![]() Select the New Resource... command in the New Item menu or in the context menu of the report Dictionary.
Select the New Resource... command in the New Item menu or in the context menu of the report Dictionary.
![]() Drag the file from the explorer to the data dictionary. When dragging a data file, you should select the New Resource item.
Drag the file from the explorer to the data dictionary. When dragging a data file, you should select the New Resource item.
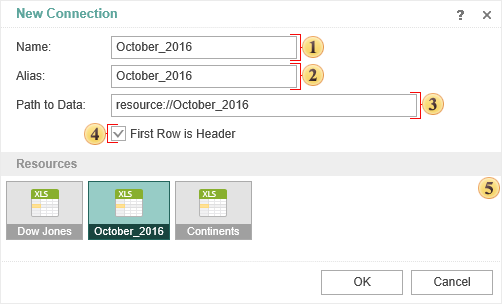
After selecting this command, the menu for creating a new resource will be displayed:
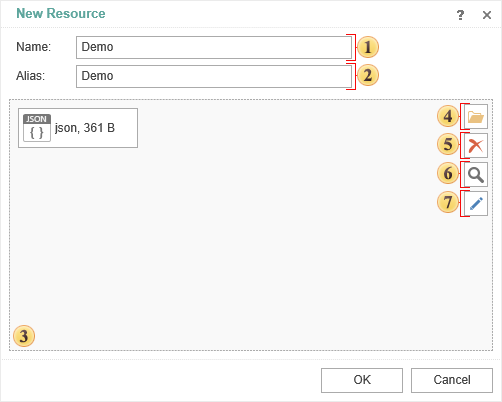
![]() This field specifies the Name of the resource;
This field specifies the Name of the resource;
![]() This field specifies the Alias of the resource;
This field specifies the Alias of the resource;
![]() This field displays the selected file which will be loaded as a resource;
This field displays the selected file which will be loaded as a resource;
![]() The button is used to call the explorer to select the file you want to upload to the report;
The button is used to call the explorer to select the file you want to upload to the report;
![]() The button is used to delete the selected file;
The button is used to delete the selected file;
![]() The button is used to view the selected file;
The button is used to view the selected file;
![]() The button is used to call the text editor to change the selected file. However, the command is available only for files that can be edited with the text editor. For example, if you select an Excel file, this command will not be available.
The button is used to call the text editor to change the selected file. However, the command is available only for files that can be edited with the text editor. For example, if you select an Excel file, this command will not be available.
Information |
When you embed a big file into a report with data or images, and when you add multiple resources, the size of the *.mrt file can be significantly increased.
|
Saving a resource from a report
To save a resource from the report designer, you should select the resource in the Data Dictionary and click Save in the context menu. In this case, a dialog will be called in which it is necessary to specify the location for saving the file. Then, click the Save button and the resource will be saved in the format of the source file. In addition, if a *.mrt file was added to the resource, then the *.mrt file will also be saved when this resource is saved.
|
Resource based data source
When designing reports, data files (CSV, Excel, JSON, XML, Dbase) are often used. Based on these files, you can create data sources in the data dictionary that will be used to create report templates. In this case, the data sources will not contain real data but only a description of the methods, parameters and methods to access to real data. The transfer of data from the file to the data sources, and accordingly the filling of the actual data of the report, occurs when rendering of this report.
In this case, you should always consider the specified path in the data source to CSV, Excel, JSON, XML, Dbase files, and, if necessary, edit them. Also, if you want to transfer the report template to another user, you should provide a data file to correctly render this report.
In such cases, when you create reports, you may add data files (CSV, Excel, JSON, XML, DBF) to the report resources.
After the data file is added to the report as a resource and based on it, you can create a data source:
Below is the menu for creating an Excel data source:
After clicking OK, the generated data source can be used to create reports.
|
Images from resources
Images in reports can be obtained from various resources - uploaded directly, from a file, from a data source, by a hyperlink, etc. When you send a report to another person or move the report (or images) to another medium, you will have to send (along with the report) images, editing the path to these images. Except the cases when the image is uploaded directly to the Image component. However, each time you load an image into the Image component, the size of the report file is increased by the size of the image file.
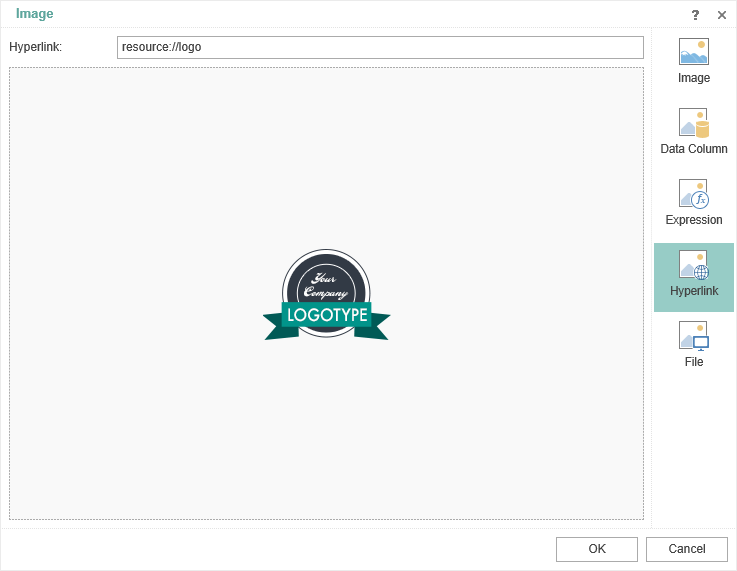
Therefore, if the same image is used in several Image components or in a watermark for various report pages, it is better upload this image into a resource. Then, in the Image or Watermark component, you need to specify a link to this resource. Also the added image in the resources will be displayed in the image gallery of the Image or Watermark component. If the image is uploaded to the resource, the size of the report file will grow only by the size of the image file, and when sending to another person (or when the report is moved to another media), no additional editing of the Image components is required.
After adding an image to the Resource, it can be used as a watermark of the report or in the Image component.
|
Sub-reports from Resources
The Sub-report component is used to display another report on the same report page within this component. This other report is the report which is nested one can be located on another page in this report template or in another report template file. Using the Sub-report component, you can also display the rendered report.
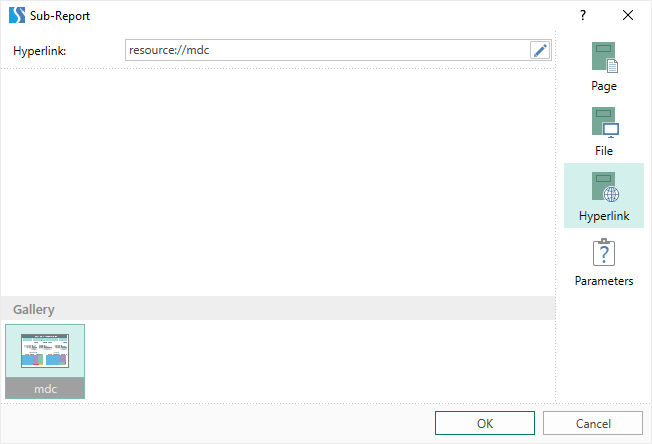
If the report you want to display in the Sub-report component is another file (*.mrt, *.mrz, *.mdc, *.mdz), you can add it to the report resources. After adding to the resources, you can:
Also, you can pass a parameter in the Sub-report component editor. For example, to filter data in a nested report. However, this is only relevant for the not rendered report (*.mrt, *.mrz).
|
Rich text from resources
Sometimes you need to use Rich text in your reports. There is a special component to display this text in the report designer – Rich Text. You can add the Rich text to the report with next ways:
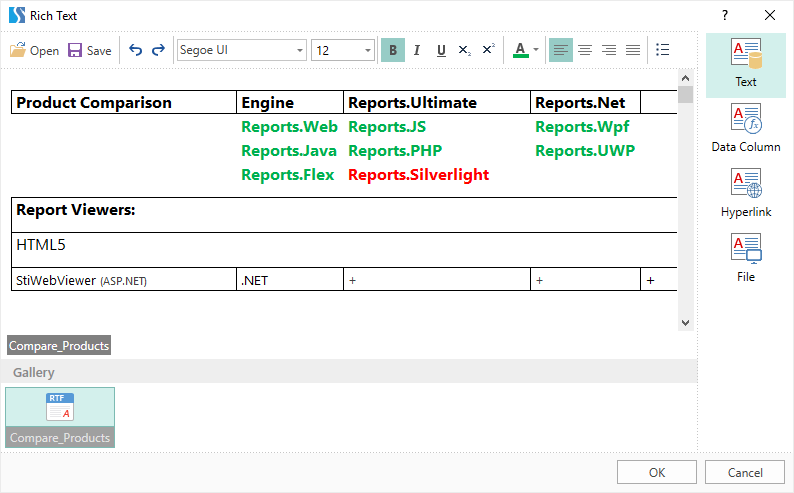
Therefore, one of the options is to add a Rich text file to the report resources. To output the Rich text from resources:
Also, if necessary, the text obtained from the resources can be edited in the Rich Text editor. |
