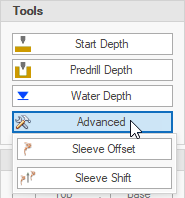
Numerous tools are provided to adjust data, both during and after import.
Start Depth
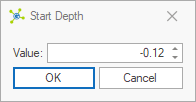
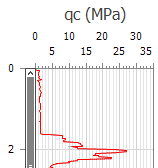
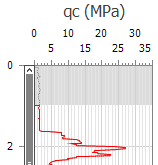
If a test starts at a point that differs from the reference point (typically ground level), the Start Depth adjustment can be used to move all data up or down. An example of this would commonly be starting a test above ground level to collect zero readings before the actual test commenced with the depth recorder running.
Before |
|
After |
|
 How To: Change the start depth manually
|
Predrill Depth
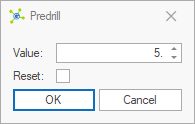
Sometime the first part of the test is completed through a hole (i.e. inspection pit) that has been excavated to check for services, or created using a dummy probe through material that would otherwise damage a cone. In these cases a predrill depth is applied to remove data from the start of the test, with all values being replaced with -666 indicating a predrill zone:
Before |
After |
|
|
|
This value can be set during import. |
 How To: Set predrill depth manually
|
Water Depth
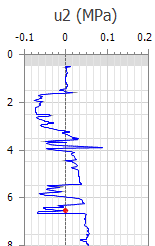
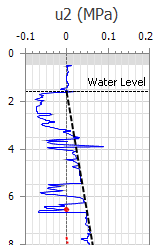
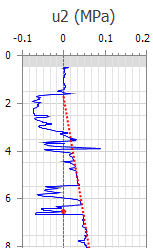
Each test may have a single water depth defined, indicated by a horizontal line and a hydrostatic pressure line (hu):
Before |
After |
|
|
If the test was completed with a piezocone, the hydrostatic pressure line should generally follow the pore pressure profile in clean sands.
If dissipation tests were completed, the hydrostatic pressure line should join the u0 markers from assessment of these tests.
|
This value can be set during import. |
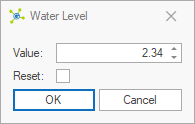
 How To: Set water depth manually
|
|
To remove an existing value, check the Reset option. |
 How To: Set water depth graphically
|
Sleeve Offset
When data is acquired, all values are recorded based on the tip depth, with the friction sleeve located behind the tip. As a result, the tip may be measuring data in a sand while the sleeve is measuring data in a clay. A sleeve offset is applied align the tip and sleeve data to ensure that SBT assessments are made correctly.
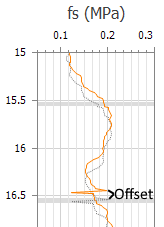
Some data acquisition systems make this adjustment internally, so generated data files already contains this offset. Its important to determine if the data contained in a file is already corrected or not. This is best assessed by comparing rod change spikes:
Not applied in file |
|
||
Applied in file |
|
|
This value can be set during import. |
 How To: Set sleeve offset manually
|
Sleeve Shift
Shifts the original sleeve data relative to tip data.
|
This value can be set during import. |
 How To: Set sleeve shift manually
|


