The Description Builder can be used to standardize descriptions (i.e. soil, rock, defect), while also providing the option of inputing free-text descriptions.
Combined descriptions for the same layer can be created, such as interbedded with (i.e. Soil + Soil) or grading to (Soil + Rock)) variants.
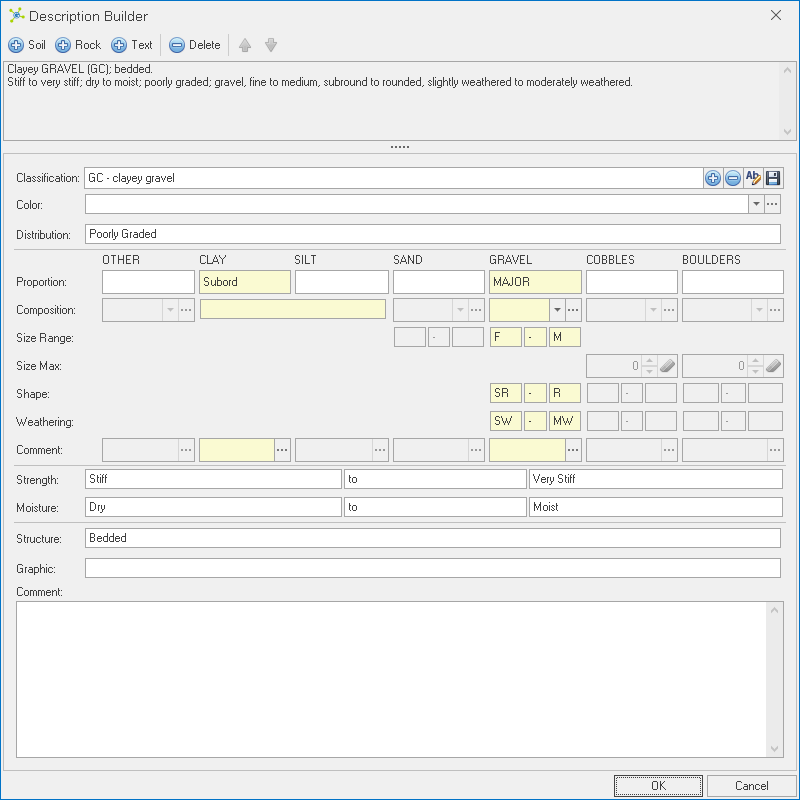
Soil + Soil (interbedded)
|
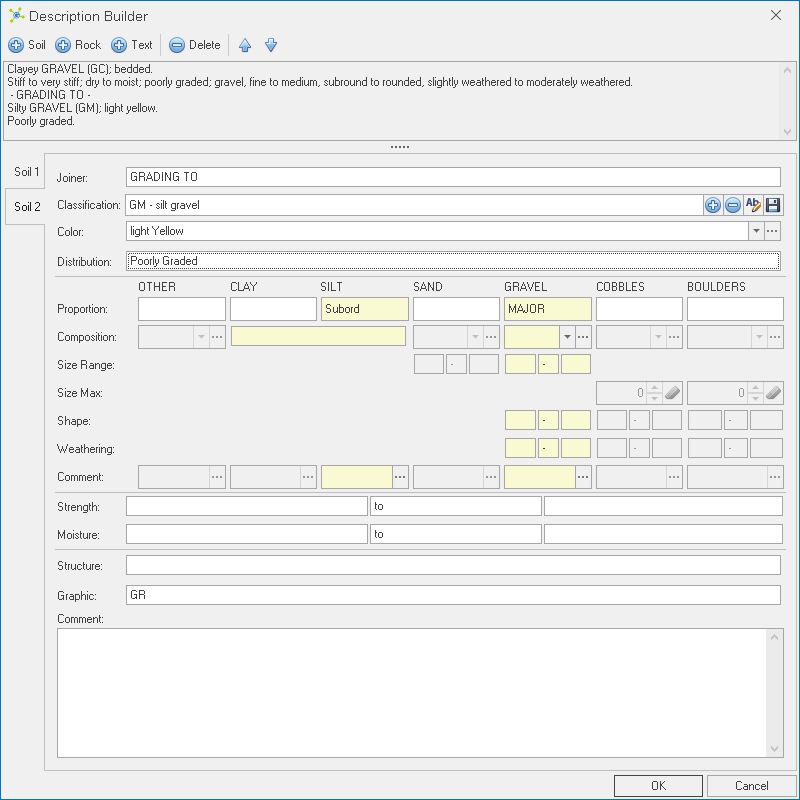
Soil + Rock (gradational)
|
|

|
Most aspects of the schema (defines which controls are visible and the items shown) and template (defines the word order) can be customized for different descriptive systems.
When a new project is created, the settings, schema and template from the division are copied into the new project, so changes in one project will not affect another.
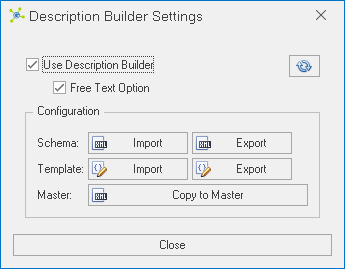
Settings can be changed before any descriptions are created for the current project using the Description Builder Settings dialog:
To use the Description Builder, a table requires columns named Description and DESX (xml).
Its use can be enforced on a division basis in the Manager Module.
 Click the Description Builder button on the Options page of the ribbon: Click the Description Builder button on the Options page of the ribbon:

 Change the Use Description Builder option: Change the Use Description Builder option:
þ
|
Shows the Description Builder:
|
o
|
Shows a memo editor:
|
 Note Note
|
This option cannot be changed once the project contains a description that has been created using the Description Builder.
|
|
Click the Description Builder button on the Options page of the ribbon:
Change the Free Text Option:
þ
|
Shows the Free Text Option:

|
o
|
Hides the Free Text Option:
|
Note
|
This option cannot be changed once the project contains a description that has been created using the Description Builder.
|
|
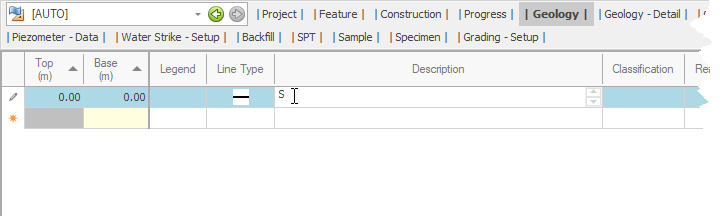
When a new record is created and the Description column is clicked, the Description Builder is shown:
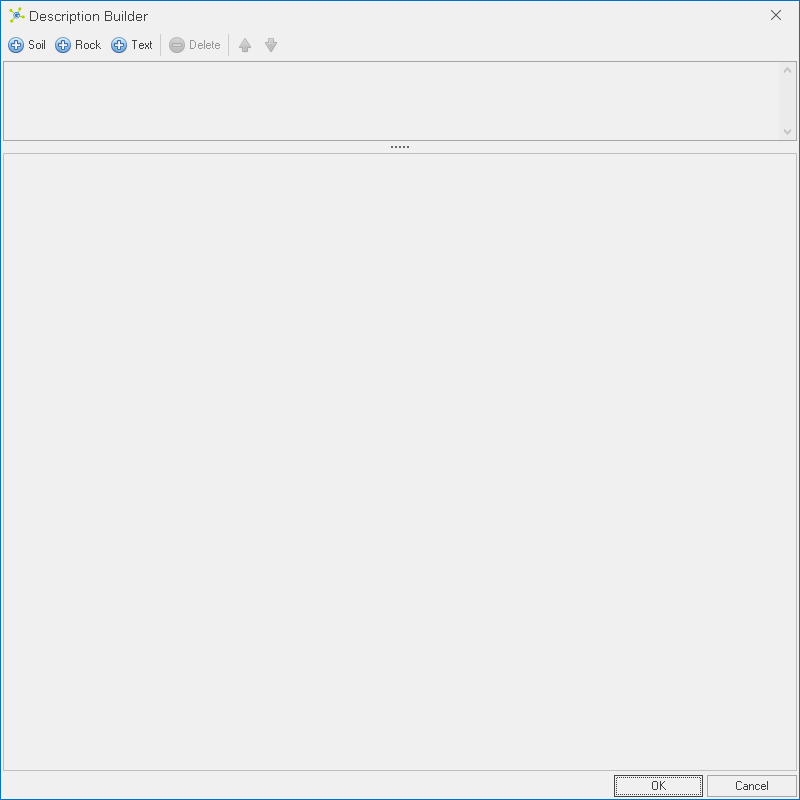
Choose a description type to create:

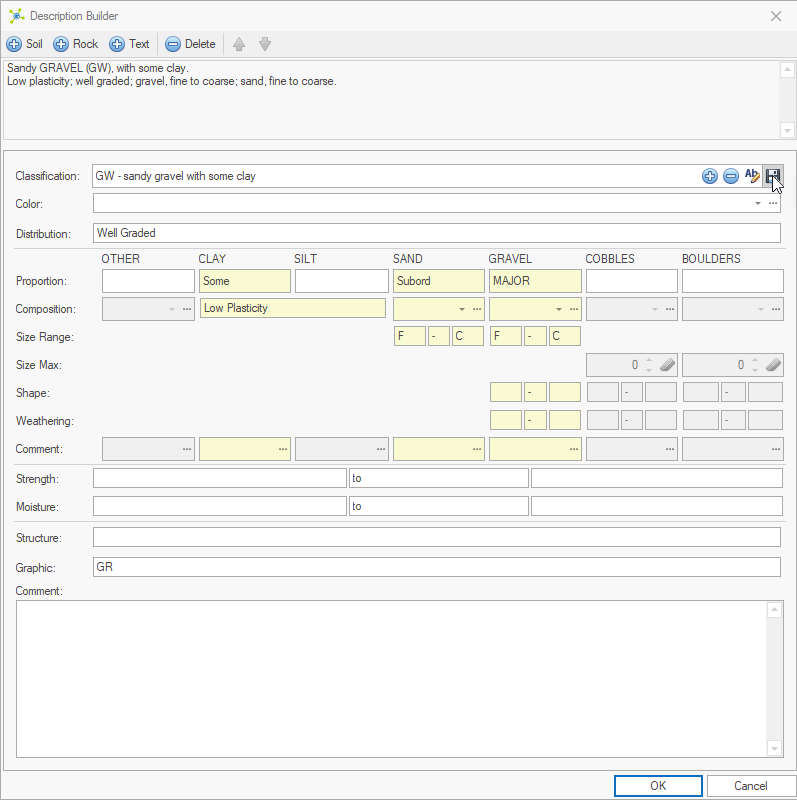
 If using the Soil or Rock type, set values in the desired controls to build a description using the defined items: If using the Soil or Rock type, set values in the desired controls to build a description using the defined items:

|
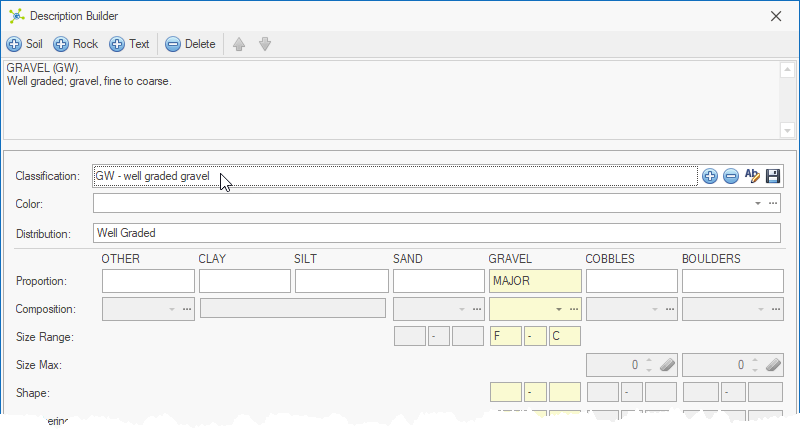
For Soil type descriptions, controls can be automatically populated by selecting a Classification with presets defined
|
 To generate combined descriptions (i.e. 'grading to' or 'interbedded with'), use the same process as shown in & . Description order can be controlled with the up and down buttons. To generate combined descriptions (i.e. 'grading to' or 'interbedded with'), use the same process as shown in & . Description order can be controlled with the up and down buttons.
Note
|
If the text type has been selected, it's not possible to combine this with Soil or Rock descriptions and cannot be used to extract parts of the description.
|
|
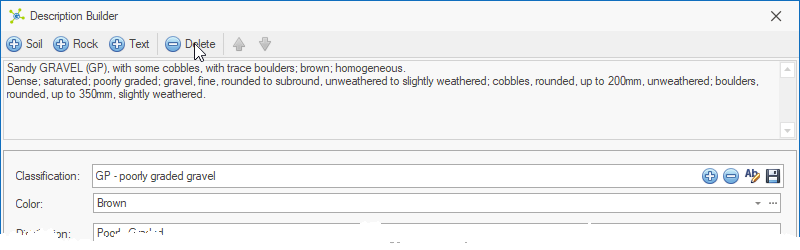
Click on an existing description to rebuild the Description Builder with existing settings:
After making changes, click the OK button:
|
Select the description to remove and click the Delete button:
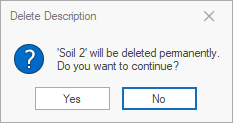
Click the Yes button to confirm the deletion:
|
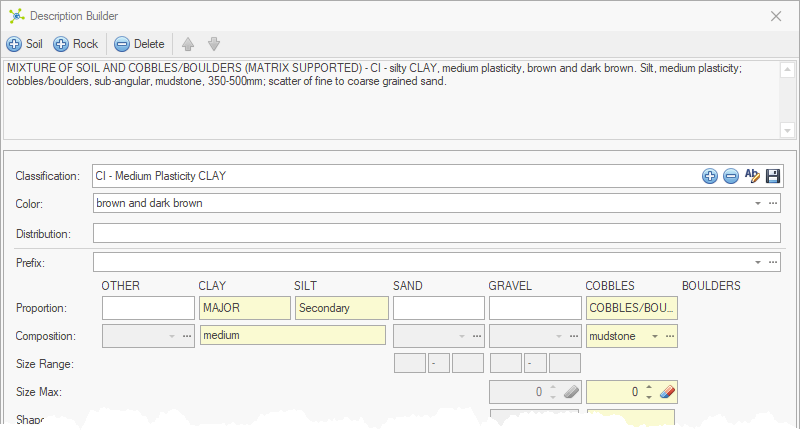
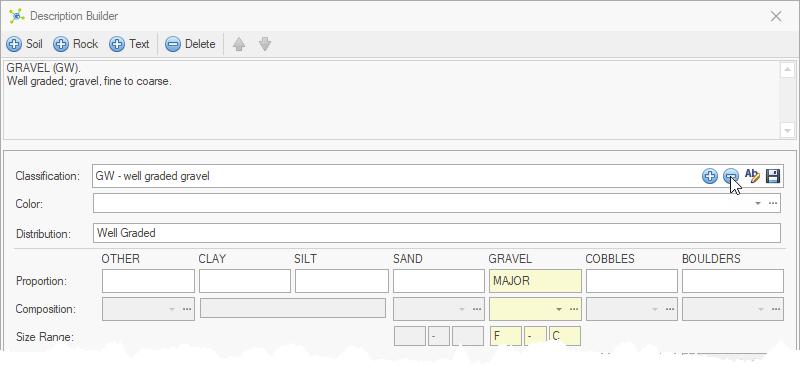
Using Soil type descriptions, select a Classification value:
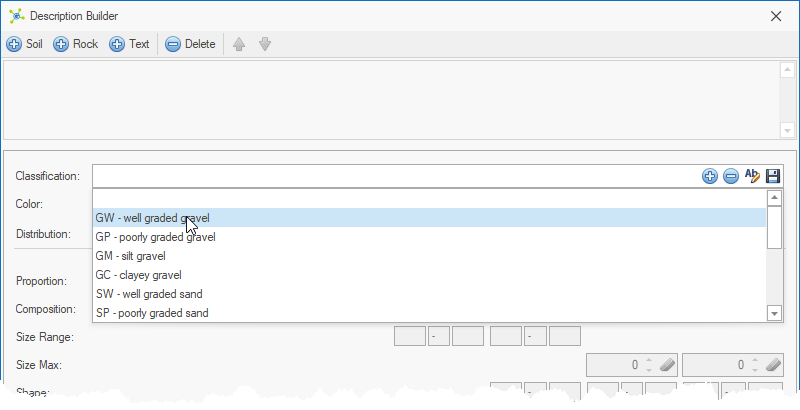
When configured, control values will automatically set, generating the basic description:
|
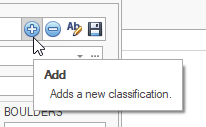
To create a new classification, click the Add button:
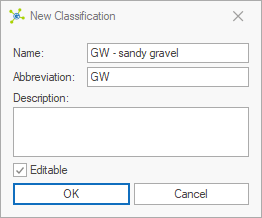
Set values in the New Classification dialog:
|
Name - a unique name that is shown in the list
Abbreviation - the value (abbr) associated to the classification that can be shown in the final description
Description - the value (desc) associated to the classification that can be shown in the final description
Editable - locks the classification from being changed or updated.

|
Its important that classifications are locked if these are used during the import of data from external sources, with generation of descriptions relying on a classification setting specific values.
|
|
|
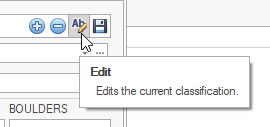
To edit an existing classification, click the Edit button:
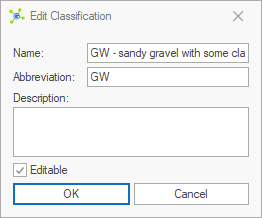
If the classification is editable, the Edit Classification dialog will be shown and changes can be made:
|
Name - a unique name that is shown in the list
Abbreviation - the value (abbr) associated to the classification that can be shown in the final description
Description - the value (desc) associated to the classification that can be shown in the final description
Editable - locks the classification from being changed or updated.
|
Its important that classifications are locked if these are used during the import of data from external sources, with generation of descriptions relying on a classification setting specific values.
|
|
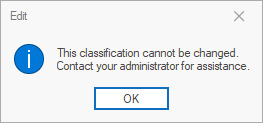
Otherwise the edit restriction will be shown:
|
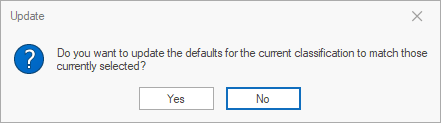
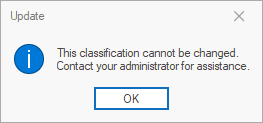
To update settings associated to an existing classification, set the controls that you want to automatically populate, then click the Update button:
If the classification is editable, click the Yes button to update settings:
Otherwise the update restriction will be shown:
|
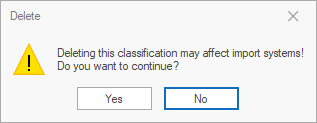
To delete an existing classification, select the value, then click the Delete button:
If the classification is editable, click the Yes button to confirm the deletion:
Otherwise the delete restriction will be shown:

|
Deleting classifications may affect import systems relying on a classification setting specific values.
Its recommended that the user only deletes classifications that he/she has added themselves.
|
|
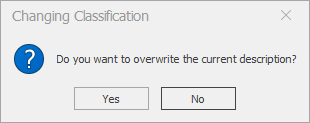
When changing between classifications with settings, the user is prompted if the action should overwrite / reset controls to the default settings for the new classification:
|
 How To: Turn on / off the description builder