When in the Model (3D) environment additional setting options are shown in the Quick Access Toolbar:
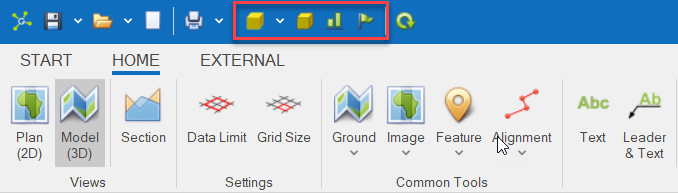
Changing the render can help to improve the performance of large models.
|
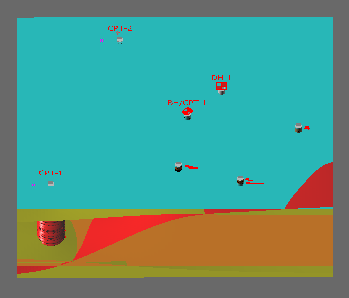
Rendered - changes the model to rendered mode (smoothed with textures applied). This requires time, storage and computer capability.
|
|
Shaded - changes the model to shaded mode. is a great in-between as it has light and shadows, just not a smooth finish.
|
|
Wireframe - changes the model to wireframe mode. has only the necessary elements without details of the model this is a good option if you have limited capability on the computer, limited storage and time.
|
Changing the projection helps to improve the perception of data in a model.
|
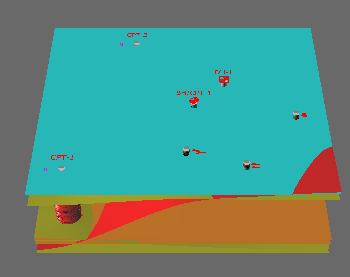
Orthographic Does not have depth or vanishing point (i.e. non-converging on the horizon).
|
|
Perspective Has depth and vanishing point (i.e. converging on the horizon).
|
![]()
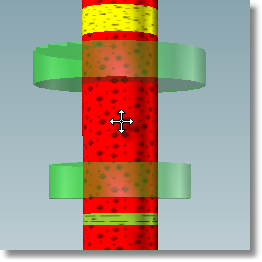
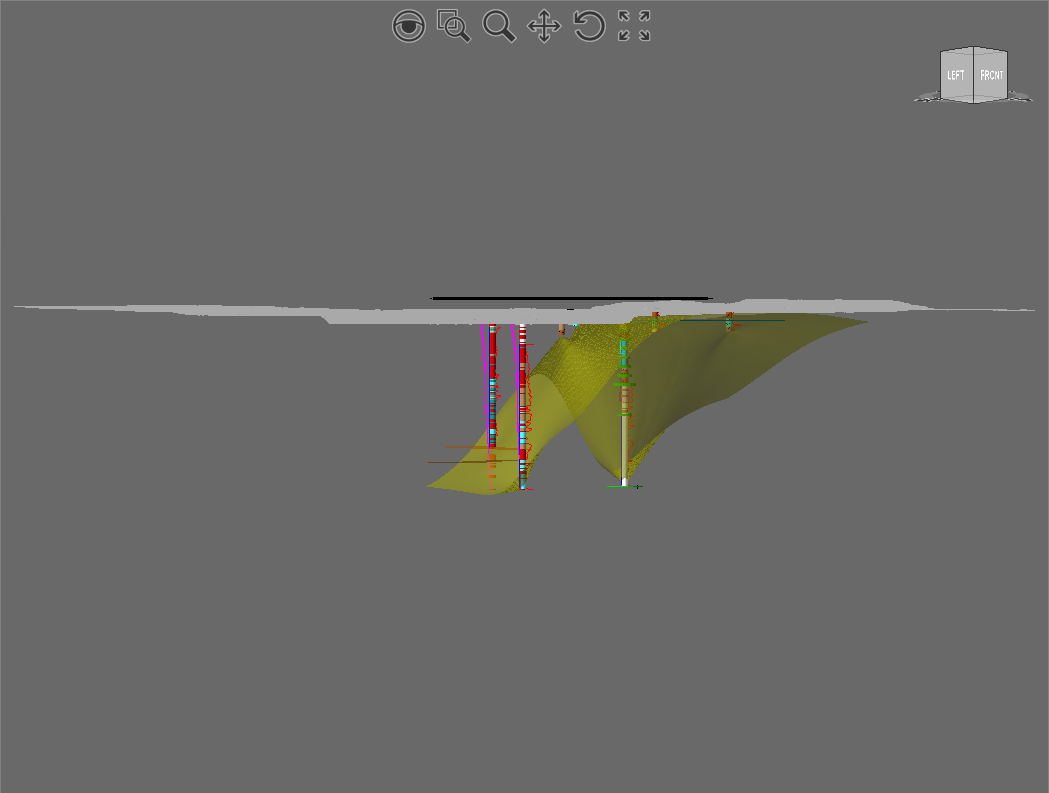
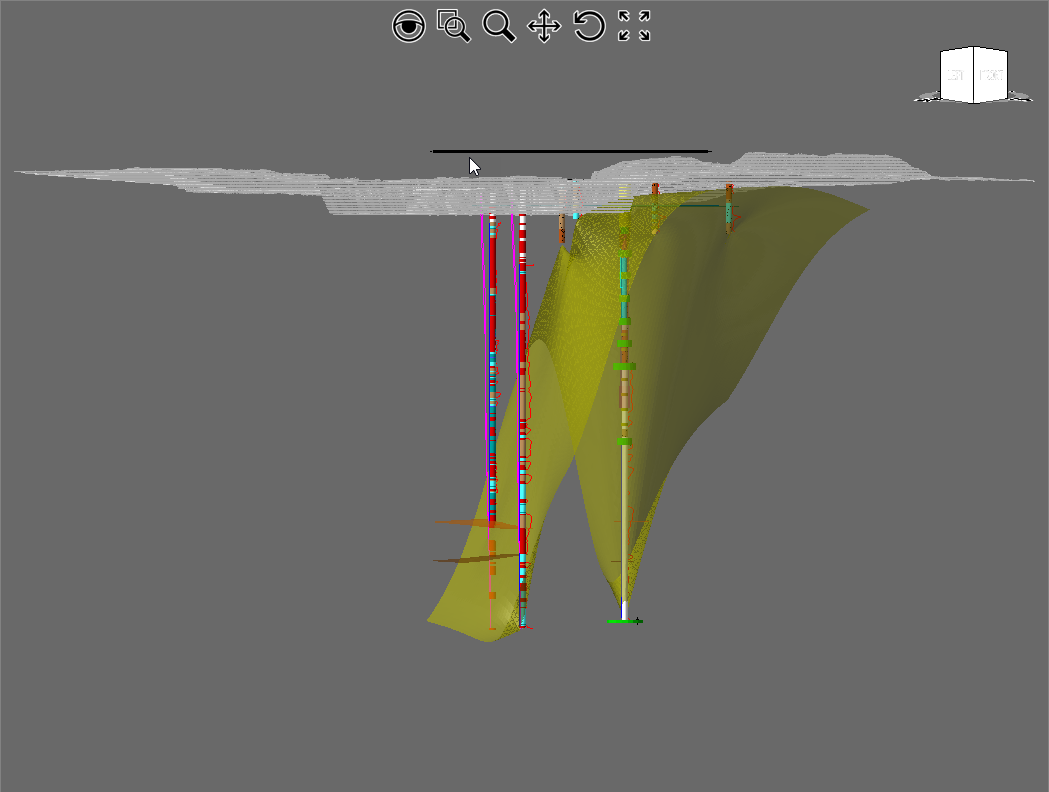
The scale factor button changes the vertical exaggeration of the model allowing additional detail to be shown:
Scale=2 |
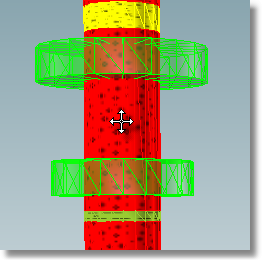
Scale=5 |
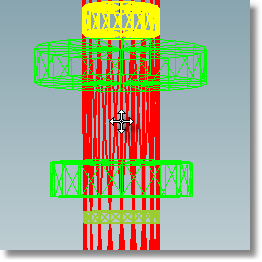
Scale=10 |
|
|
|

When clicked the Scale Factor dialog is shown:
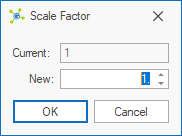
Setting a new value (increases in 0.5 increments) and clicking OK will scale the current model.
![]()
The labels button turns database point feature labels on / off:
|
|
On |
Off |
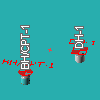
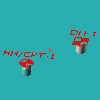
These simplify the location of data in the model as they are always visible irrespective of the zoom or orientation.