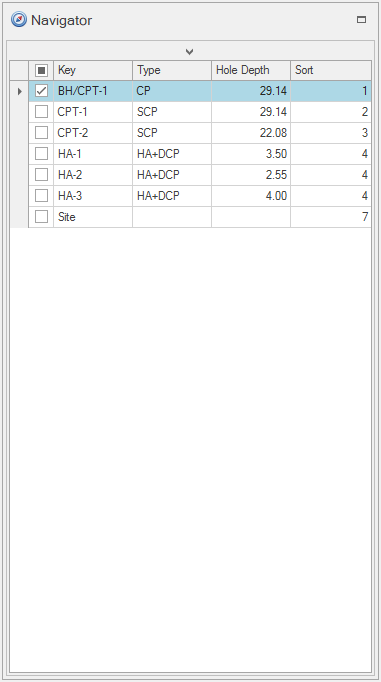
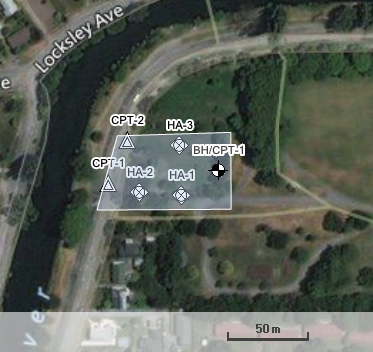
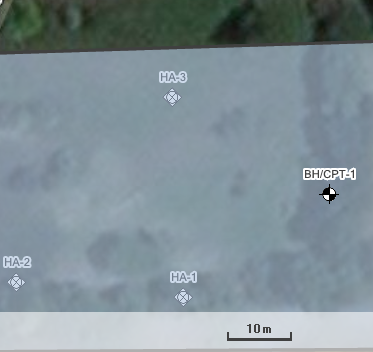
Data navigation can typically be managed using only the Workflow Toolbar and Record Navigator.
The Workflow Toolbar provides table links from either a predefined list or those used by the active template:
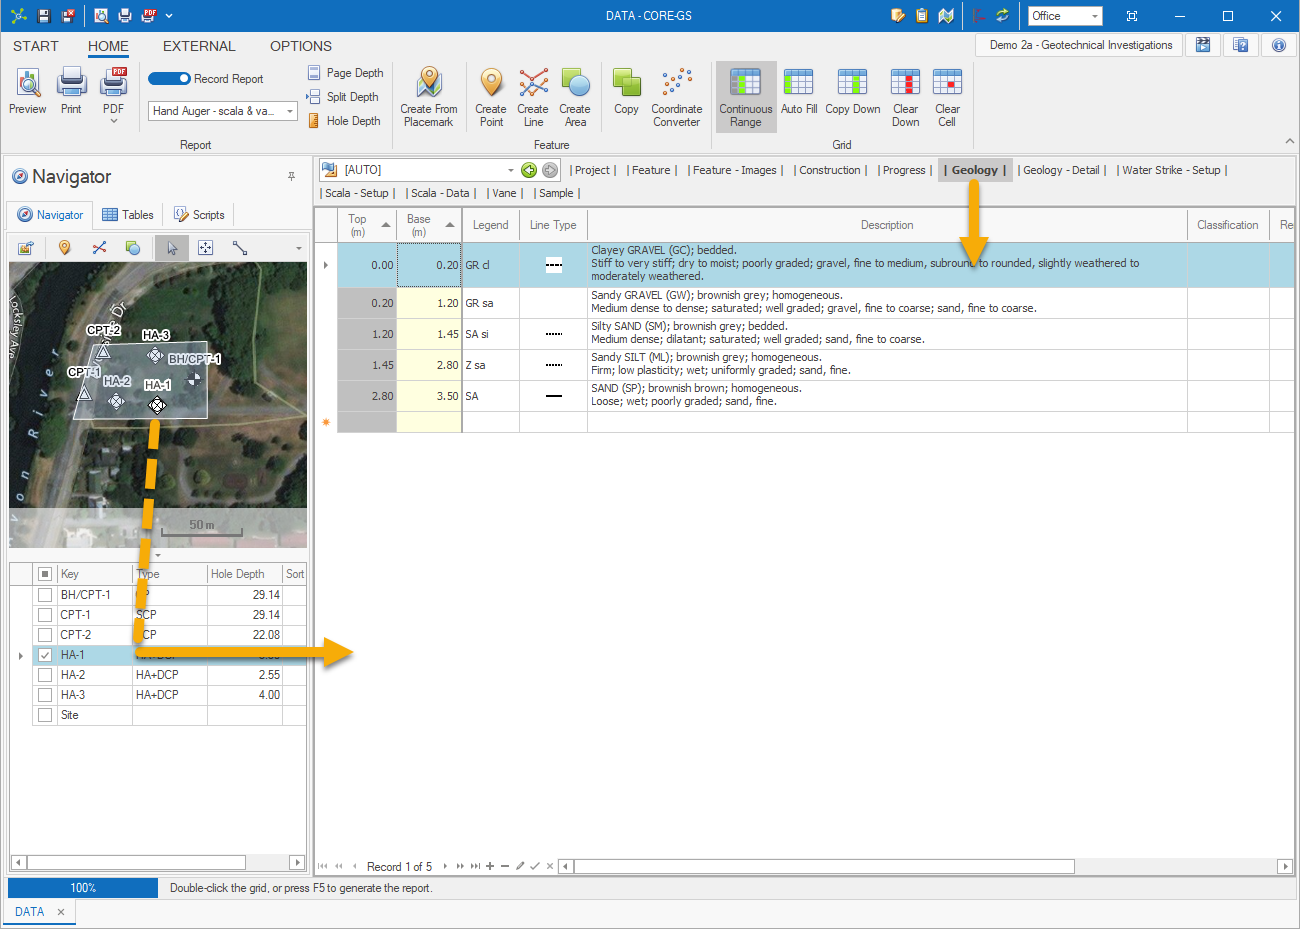
In many cases, its recommended to associate a template to each Record Navigator item. When the [AUTO] option is selected in the Workflow Toolbar the table links from the associated report are shown. When the focused Record Navigator item is changed, the Workflow Toolbar automatically updates with new table links.

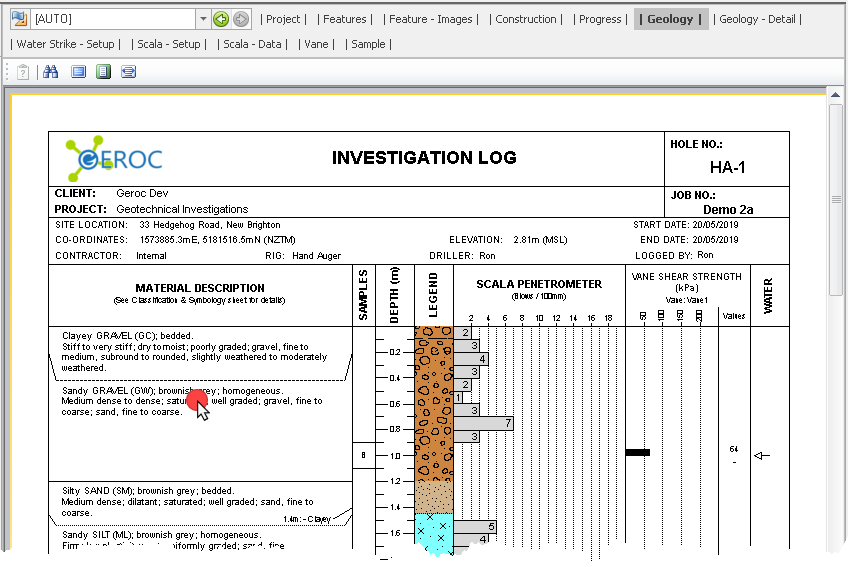
When a report is shown in the report preview , this can be used to navigate to tables and records shown in the report:
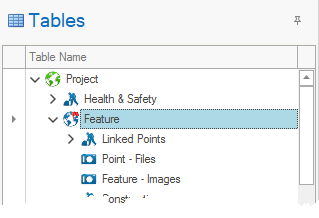
A list of all tables can be accessed through the Table Tree:
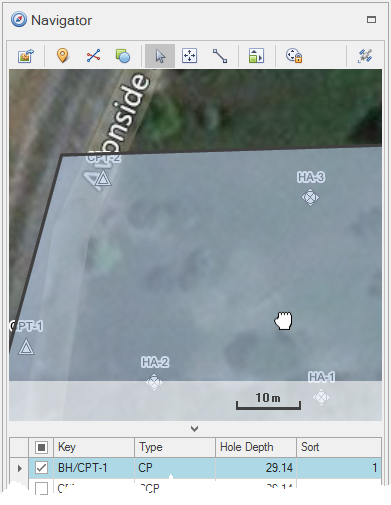
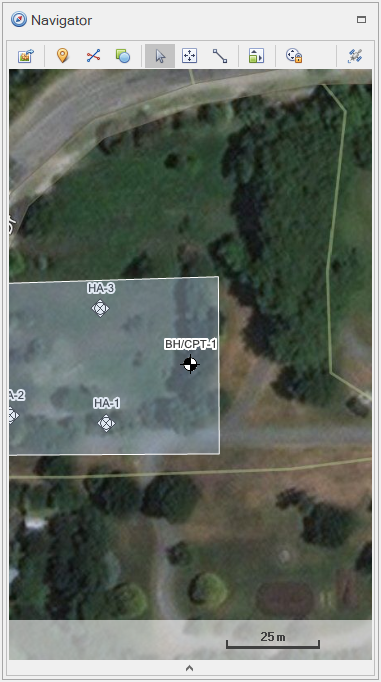
How To: Zoom the feature map
![]() With the map focused, scroll the mouse wheel:
With the map focused, scroll the mouse wheel:
|
ð |
|
How To: Pan the feature map
![]() Click the map using the left mouse button and hold down:
Click the map using the left mouse button and hold down:
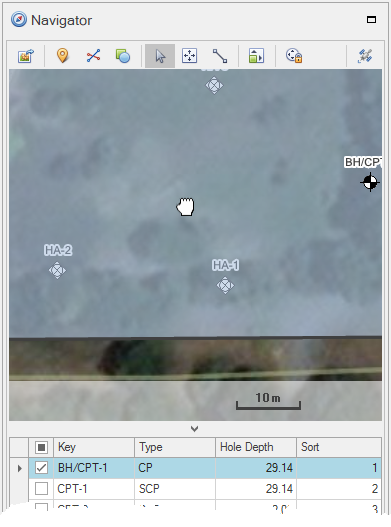
![]() Drag the map around:
Drag the map around:
How To: Using the record navigator splitter
When the map control is visible, the grid control visibility can be changed by clicking the show / hide ![]() button located in the center of the splitter:
button located in the center of the splitter:
Alternatively, the splitter can be dragged to any position:
