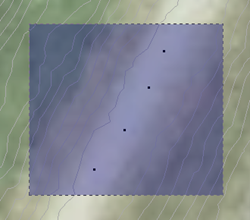
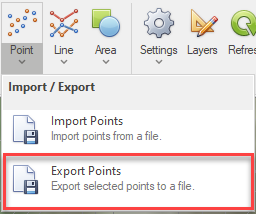
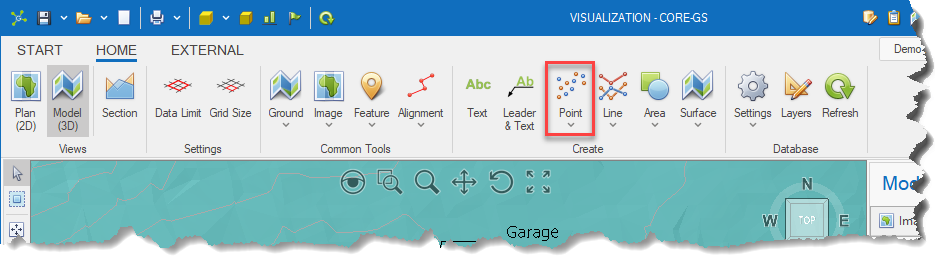
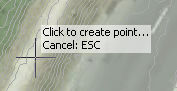
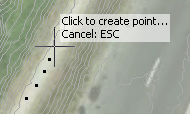
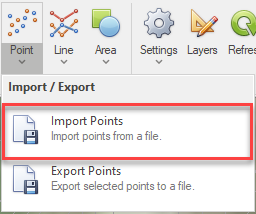
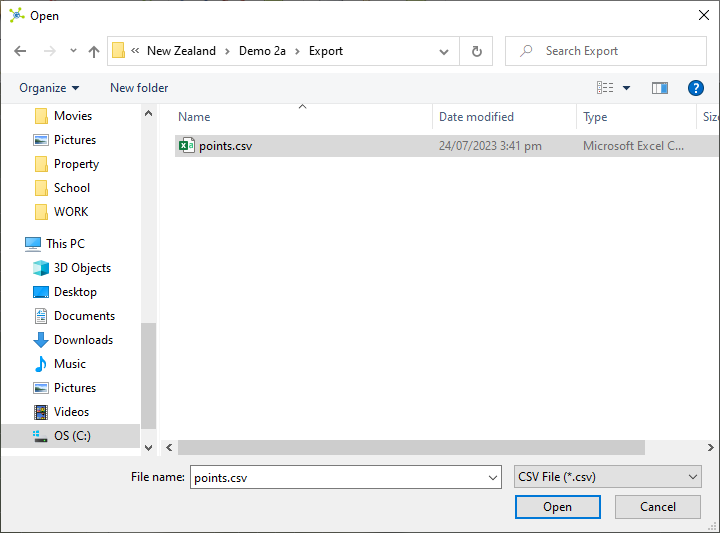
The Point button is located in the Create group on the Home page.
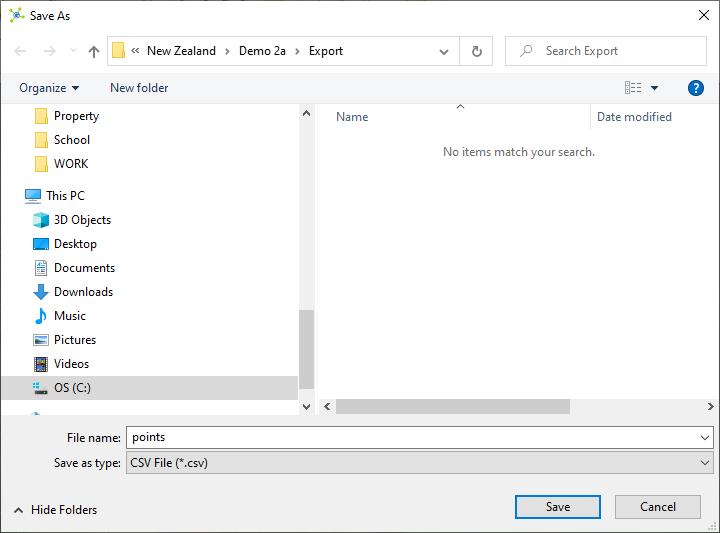
It allows the user to create points, import points from a file and export points to a file.
These can be added to both the model and section viewports.
|

|
|
|
<< Click to Display Table of Contents >> Navigation: Visualization Module > Annotations > Point entities |
The Point button is located in the Create group on the Home page.
It allows the user to create points, import points from a file and export points to a file.
These can be added to both the model and section viewports.
|
|
|