<< Click to Display Table of Contents >> Navigation: Data Module > Data entry > Working with features > Using continuous range |
The Continuous Range tool automatically inserts (or updates) the top depth on tables requiring both top and base depths, avoiding duplicate data entry and assisting to ensure there are no gaps or overlaps.
The option to allow use of the Continuous Range tool is an enabled on individual tables in the Design Module or Table Properties dialog.
When its enabled, the Continuous Range toggle will show on the ribbon:
When enabled ascending sort is enforced on the top and base depth columns.
Click the Continuous Range toggle on the ribbon on the contextual menu to enable / disable: |
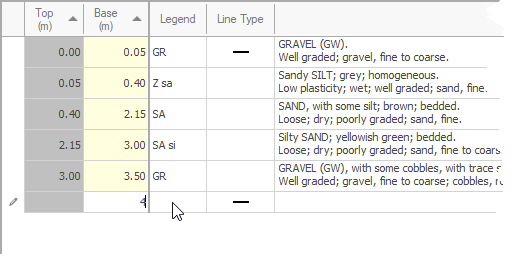
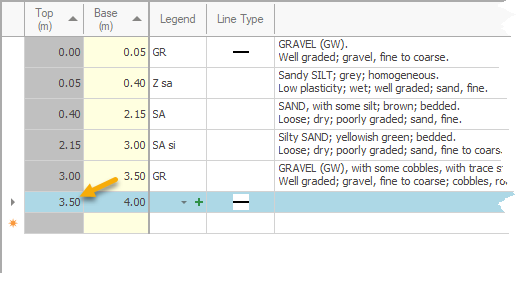
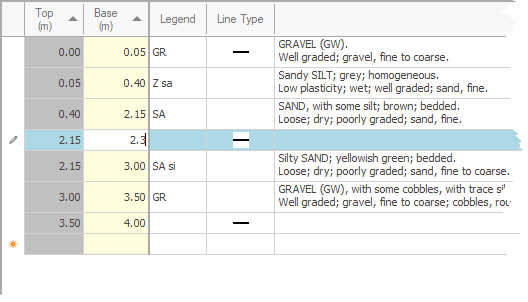
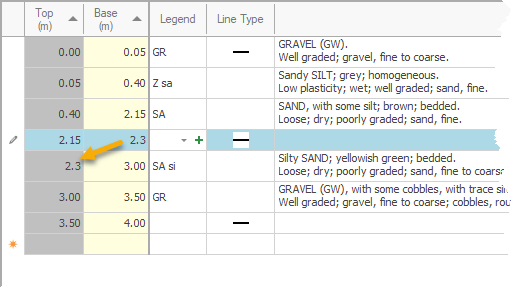
Check that Continuous Range is enabled: Enter a value into the base depth, then leave the column (i.e. select another cell): The base depth from the row above is copied into the top depth of the new row: |
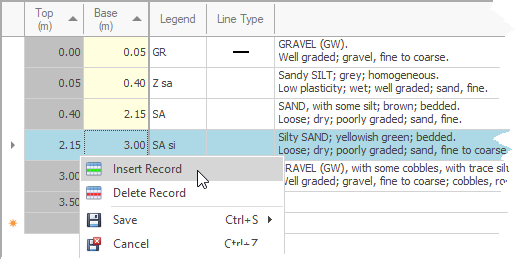
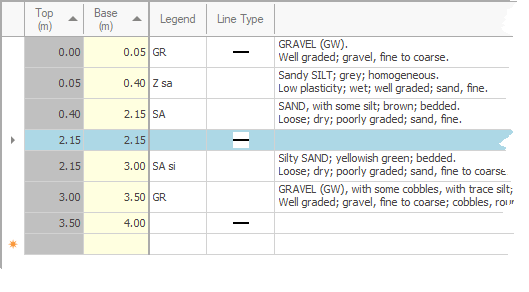
Check that Continuous Range is enabled: Select a record to insert a new record above, right-click to show the contextual menu, then click the Insert Record button: A new record with zero-thickness (same top and base depth) will be created using the top depth of the selected record: |
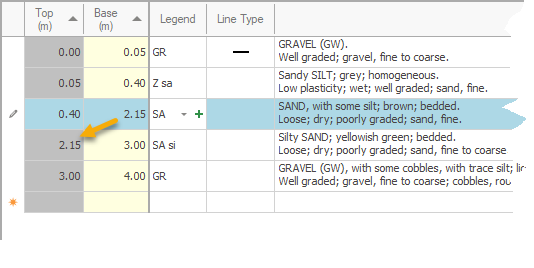
Check that Continuous Range is enabled: Change the base depth of a record, then leave the column (i.e. select another cell): The top depth of the record below will be updated: |
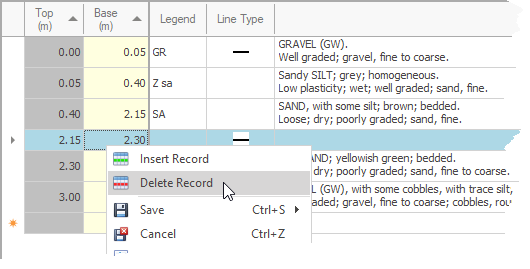
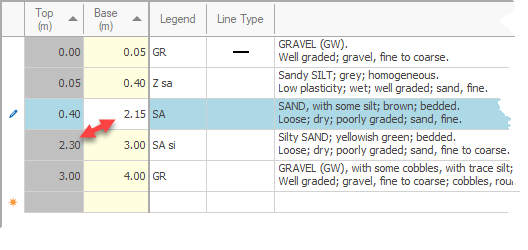
Check that Continuous Range is enabled: Select a record to delete, right-click to show the contextual menu, then click the Delete Record button: The data now contains a gap that must be corrected: Change the base depth of the record above the gap to correct the value: |