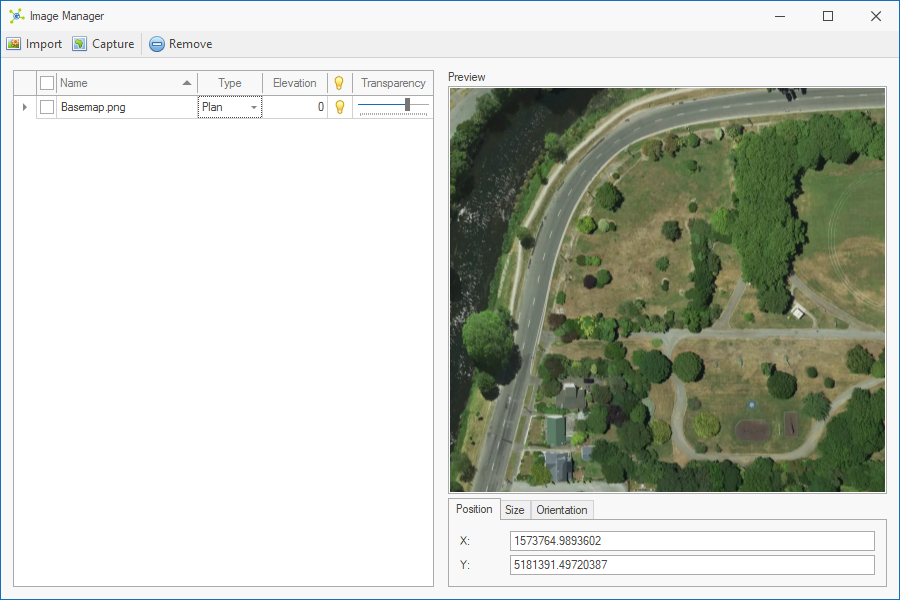
The Image Manager provides options to manage georeferenced images. It's shown by clicking the upper-portion to the Image button:


Adding & Removing
The Toolbar provides options to import, capture and delete images from the model:

•Import - enables georeferenced images to be added to the model.
•Capture - enables the user to create georeferenced images that are added to the model.
•Remove - deletes selected images from the model.
Settings
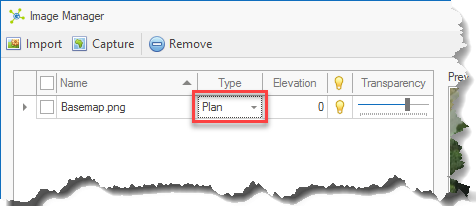
General properties including the name, elevation, visibility and transparency are shown in the navigation grid and are also available in the Images panel:
Elevation, visibility and transparency settings change the settings in the model viewport.
|
Elevation, visible and transparency settings are stored separately between the Plan (2D) and Model (3D) environments. |
Properties
Each image has a number of properties that can be set to that control how an image is shown in models, located on the right-hand side of the manager.

