Features can be created using the feature map on the Record Navigator.
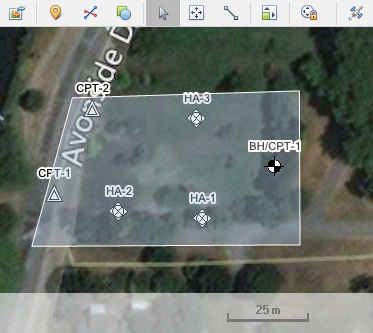
Supported features include:
•Point
•Line (aka path)
•Area (aka polygon)
Point feature positions are tightly integrated with the Coordinate Conversion system, providing bi-directional position replication of changes between the feature map and data grid to ensure that any defined coordinate data is up-to-date.
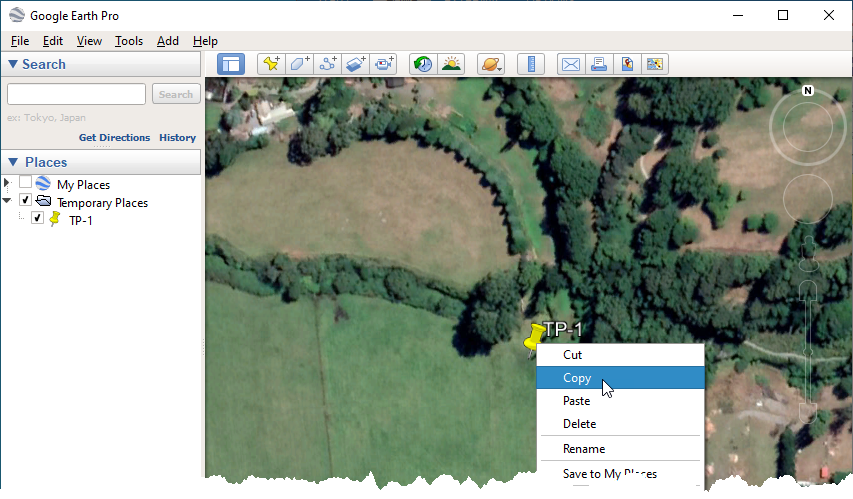
 In Google Earth®, right click an existing placemark (point, path or polygon) and click the Copy button: In Google Earth®, right click an existing placemark (point, path or polygon) and click the Copy button:
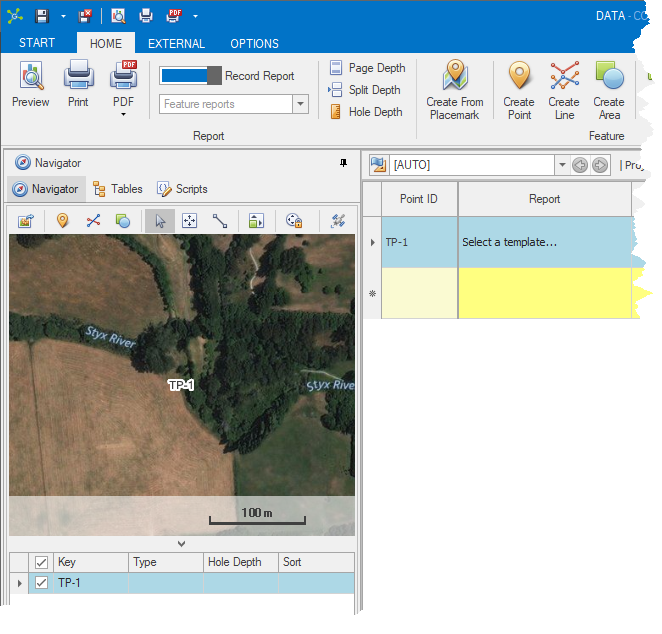
 Click the Create From Placemark button on the ribbon or in the contextual menu: Click the Create From Placemark button on the ribbon or in the contextual menu:

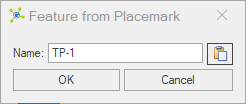
 The name of the copied item is read from the clipboard: The name of the copied item is read from the clipboard:
 Note Note
|
If the name matches an existing name the position of the existing feature will be updated.
|
 Click the OK button to create the feature: Click the OK button to create the feature:
Note
|
Any coordinate systems defined for the project will be populated or updated.
|
|
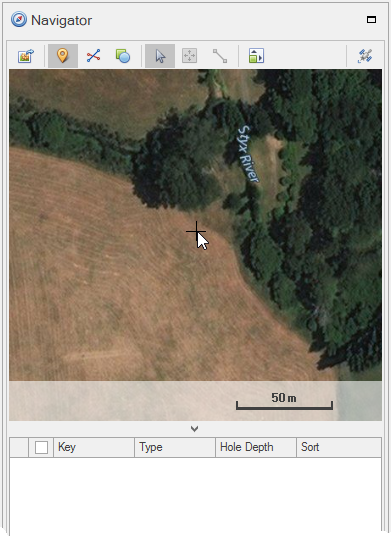
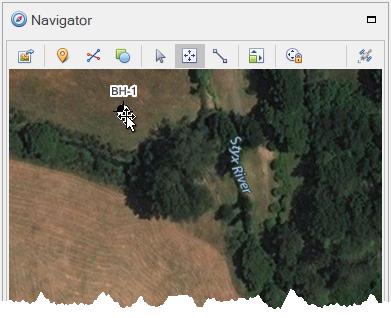
Click the Create Point button on the ribbon or in the contextual menu:

Click with the left mouse button on the Record Navigator map to select the position:
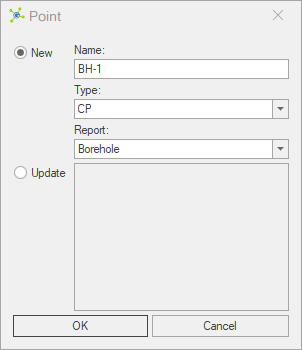
Enter a new name, type (optional - sets the graphic shown on the map) and report (optional - automatically creates table links in the Workflow Toolbar) and click OK:
Note
|
If you're shifting an existing point (or assigning a location to a records that has no marker), click update and select the point to change.
|
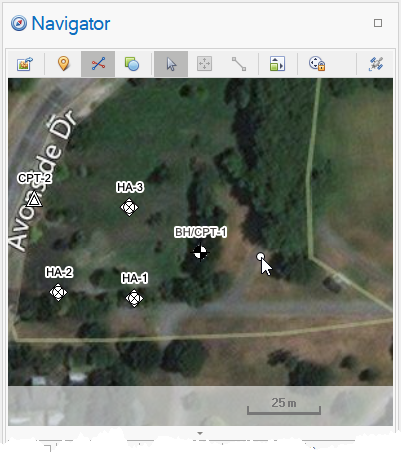
The new point will be added to the project.
Note
|
Any coordinate systems defined for the project will be populated or updated.
|
|
 How To: Create a line feature
Click the Create Line button on the ribbon or in the contextual menu:

Click with the left mouse button on the Record Navigator map at the position to start the line:
Click the map to create additional vertices:
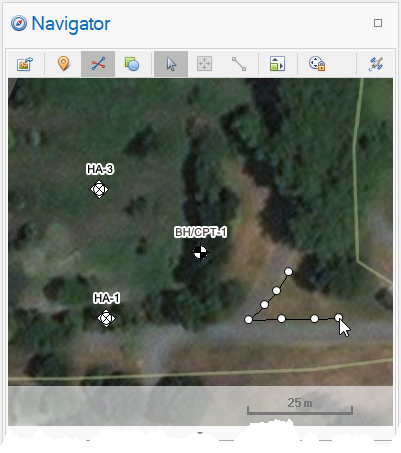
Double-click to add the last point and complete the line:
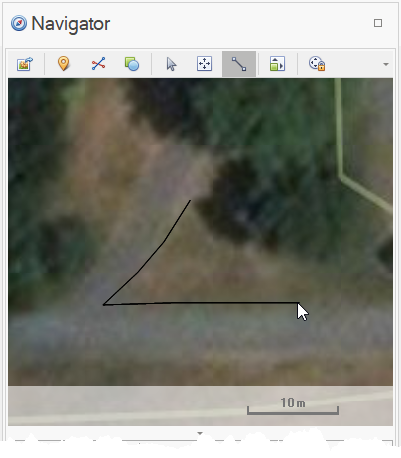
The new line will be added to the project with an auto-incremented number as the feature identifier.
|
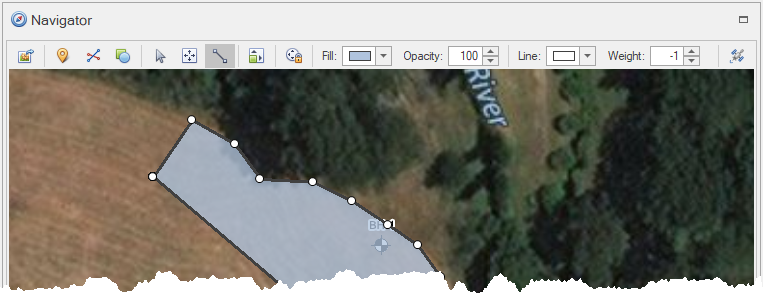
How To: Create an area feature
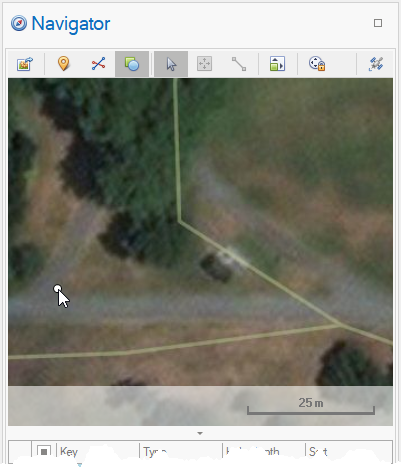
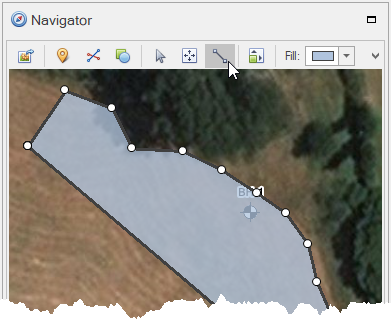
Click the Create Area button on the ribbon or in the contextual menu:

Click with the left mouse button on the Record Navigator map at the position to start the area:
Click the map to create additional vertices:
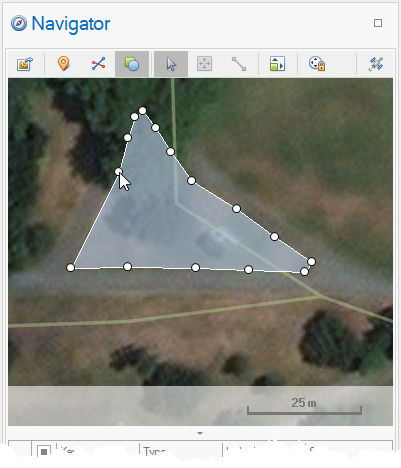
Double-click to add the last point and complete the area:

The new area will be added to the project with an auto-incremented number as the feature identifier.
|
How To: Move features (point, line & polygon)
Click the Move Mode option on the map toolbar:
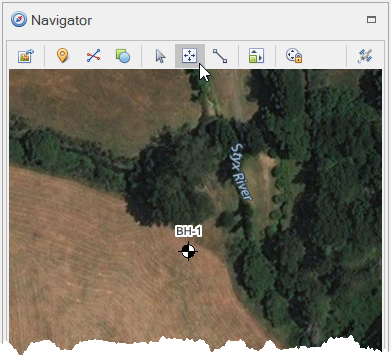
Click with the left mouse button on the feature to move, and drag this to a new location:
|
How To: Edit feature vertices (line & polygon)
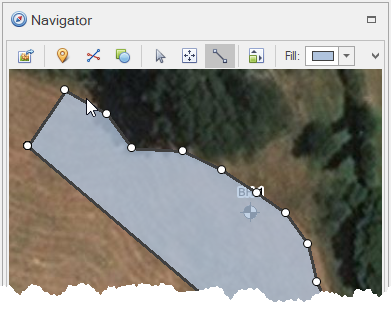
Click the Vertices Mode option on the map toolbar:
Add
Hover over a line segment to see the + icon, click to add the new vertice.
|
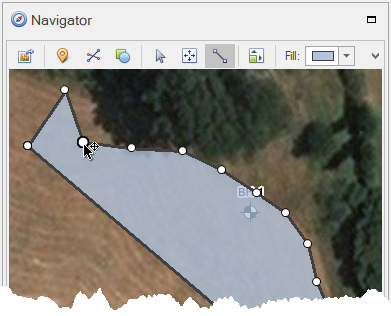
Delete
Double click the vertice to delete.
|
Move
Select a vertice and drag this to a new location.
|

|
|
|
|
How To: Edit feature properties (line & polygon)
Select a feature and change properties on the map toolbar:
|