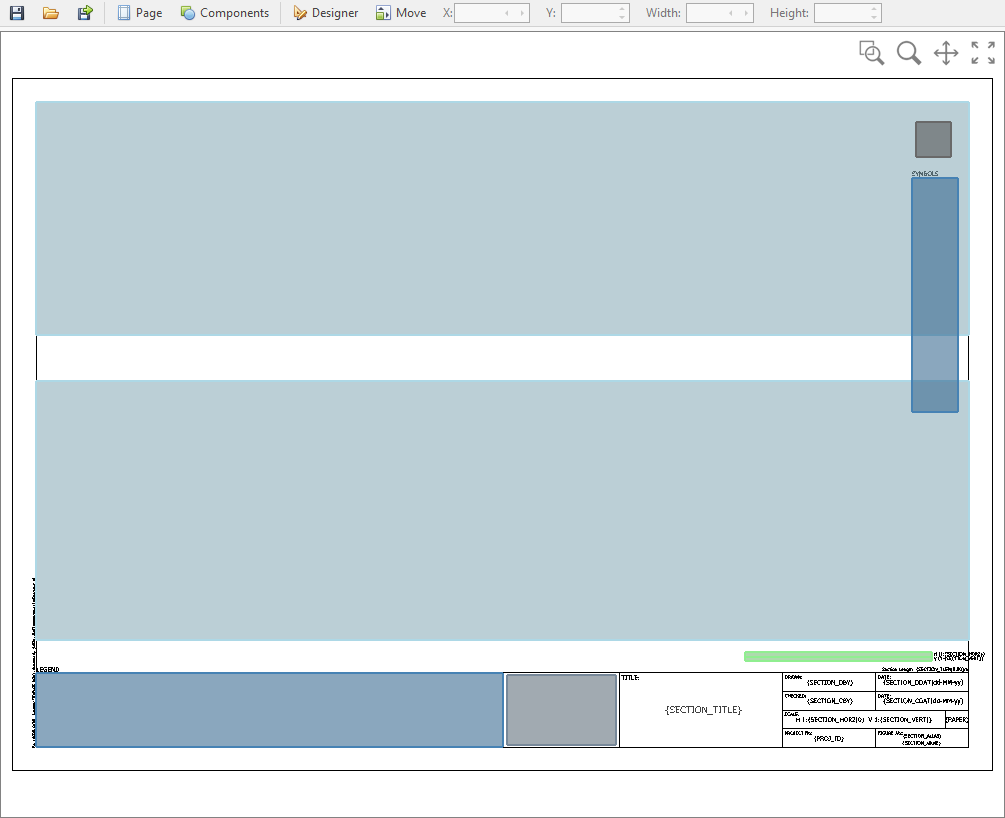
Changes to a template are made in the design control on the right-hand side of the Drawing Template Manager:

The toolbar provides access to tools to define objects in the template:

|
If the default size of the Drawing Template Manager is not large enough to show all of the option, make the window full screen to show additional buttons. |
Import / Export

Templates can be import and exported to files to simplify the transfer from project-to-project and between databases.
Page Settings
Page Settings should be set first to provide you with a guide for the creation of other components:

Components
Various other components can be added to a template:

•Arrow Area - defines an area that is rendered as a north arrow, rotated based on the orientation of the alignment.
•Plan Area - defines an area that is used to present the plan view of the alignment.
•Section Area - defines an area that is used to present the section view of the alignment.
•Scale Area - defines an area that is used to draw a scale object.
•Legend Area - defines an area that is used to show various graphical symbols used in the drawing.
•Image Area - defines an area that an image is drawn.
•Text - defines static and dynamic text that is drawn.
•Line - defines static vertical and horizontal lines that are drawn.
Moving
The position of components can be changed by either by selecting the Move tool and drag objects around the template:

Or selecting an object and change values in the X & Y controls on the toolbar:

Sizing
The size of components can be defined by selecting objects and editing the Width & Height controls:

Properties
Additional object properties can be shown by double-clicking the object or selecting an object and clicking the Properties button:
